Upload your drawings!

On 2023-11-23 at 02:38:12

 3
3On 2023-11-25 at 05:37:34

 3
3 4
4On 2023-11-25 at 05:44:59
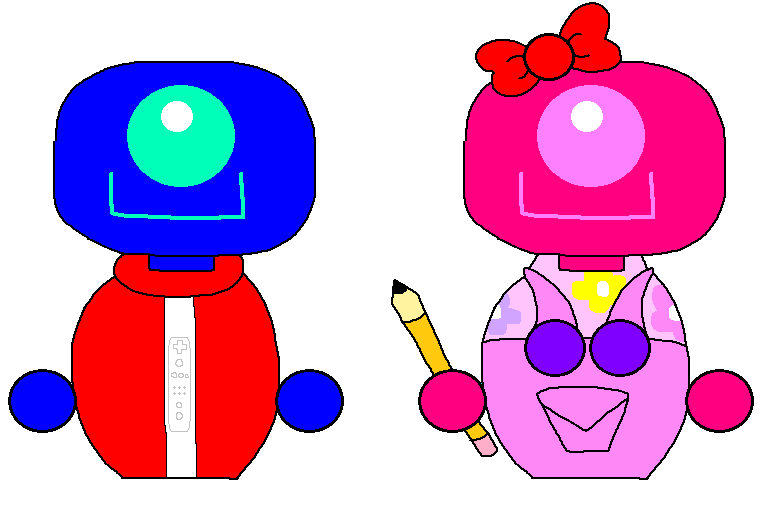
Transparent drawing of Melee with his new girlfriend Jenny
Jenny is a new OC I've created & the second overall one to be drawn, with Melee obviously being the first. It is also my first female one!

 3
3 3
3On 2023-11-25 at 12:41:32
Custom Skull Lift Sprite
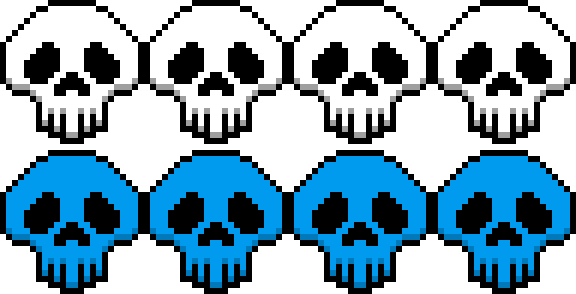

Time to crop just one skull. It will have its uses
On 2023-11-26 at 18:08:19

 3
3On 2023-11-28 at 09:18:23

On 2023-11-28 at 11:11:30
Just a question cause I'm new to this, can i share paintings? I know it sounds dumb but...:P
 6
6On 2023-12-03 at 06:45:23
Here are Some Drawings I Made for...
...Some Reason...
...Idk Why I Like to Turn Random Characters Into Spamton
Kirby Spamton
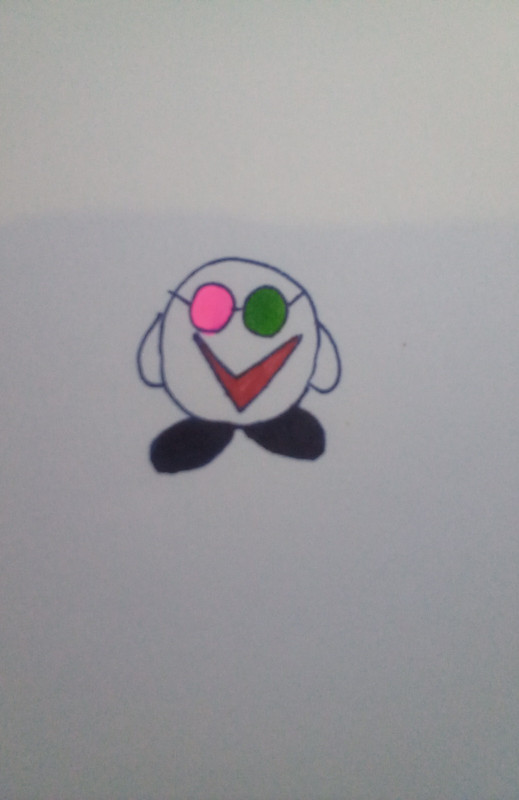
Rickton A. Rickton ("A" Comes from Astley, of Course)
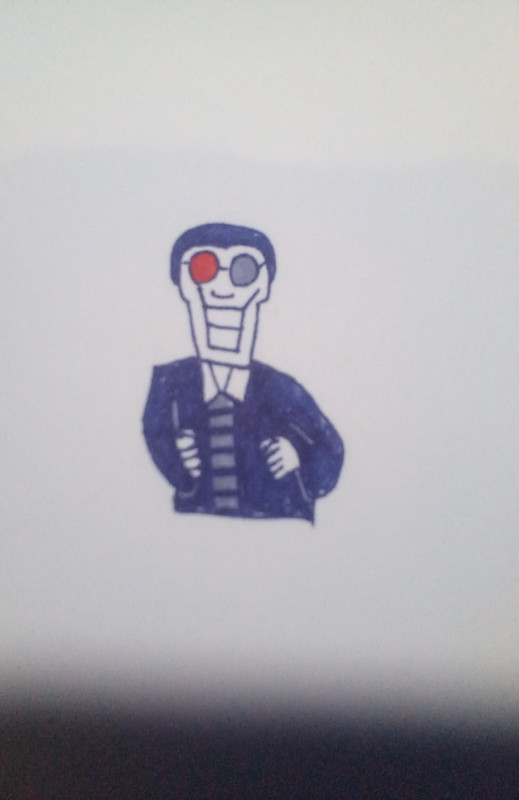
Sans Scampton (or Jevil, I Guess, but This Was Made to be Scampton)
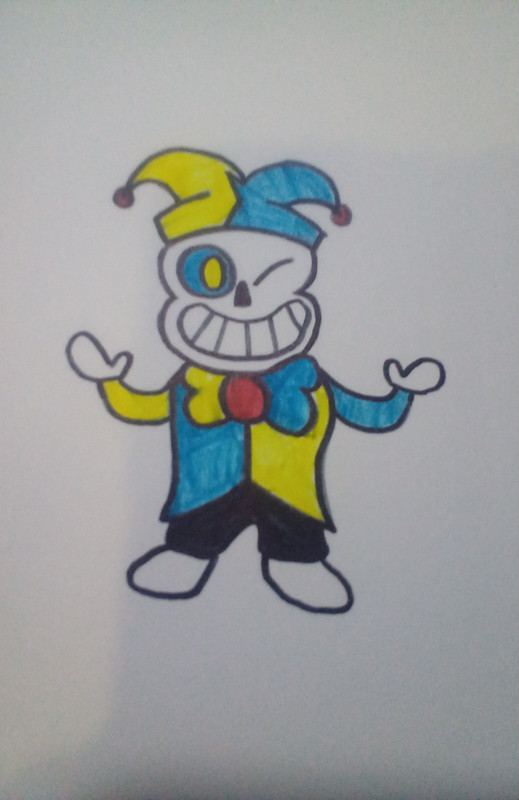
N. Tenna (Based on the Multiple Designs That People Have Made for Tenna)
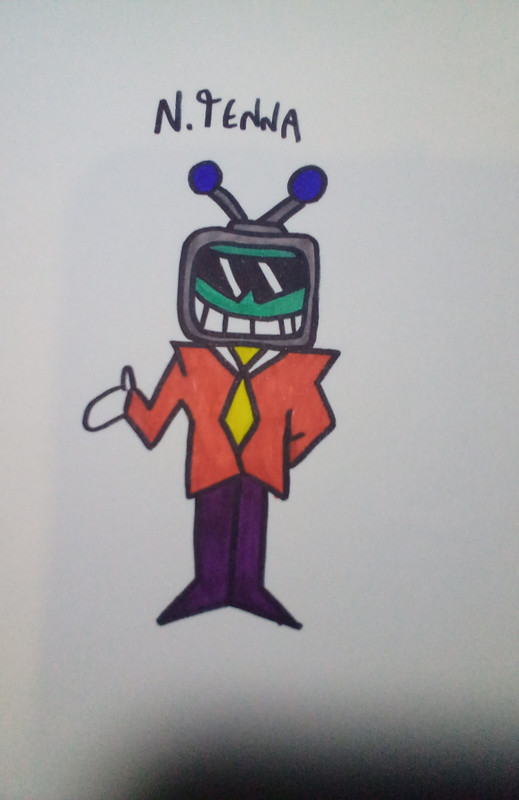
and Finally, Photoflower F. Photoflower ("Photo" Comes from "Photoshop", Which Is the Name of Flowey's Second Form, Photoshop Flowey, Although You Probably Already Knew That. Also, " F" Comes from "Flowey" )
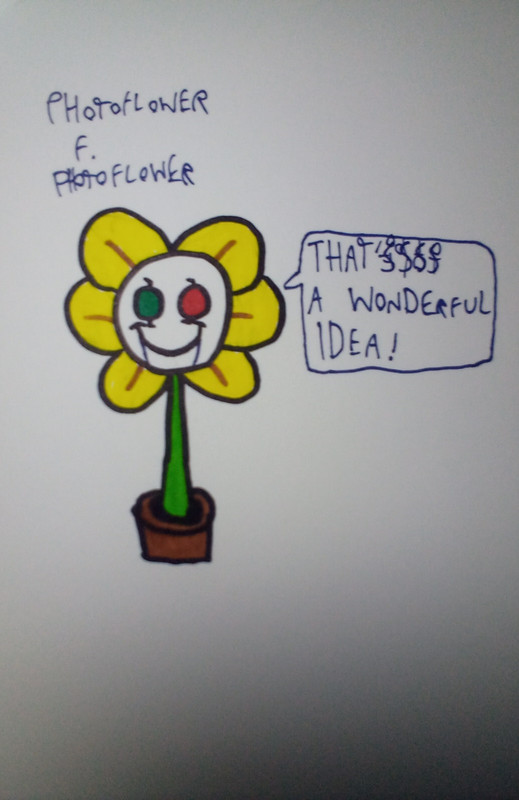
...Some Reason...
...Idk Why I Like to Turn Random Characters Into Spamton
Kirby Spamton

Rickton A. Rickton ("A" Comes from Astley, of Course)

Sans Scampton (or Jevil, I Guess, but This Was Made to be Scampton)

N. Tenna (Based on the Multiple Designs That People Have Made for Tenna)

and Finally, Photoflower F. Photoflower ("Photo" Comes from "Photoshop", Which Is the Name of Flowey's Second Form, Photoshop Flowey, Although You Probably Already Knew That. Also, " F" Comes from "Flowey" )

 1
1On 2023-12-03 at 08:39:20
Here are Some Drawings I Made for...
...Some Reason...
...Idk Why I Like to Turn Random Characters Into Spamton
Kirby Spamton

Rickton A. Rickton ("A" Comes from Astley, of Course)

Sans Scampton (or Jevil, I Guess, but This Was Made to be Scampton)

N. Tenna (Based on the Multiple Designs That People Have Made for Tenna)

and Finally, Photoflower F. Photoflower ("Photo" Comes from "Photoshop", Which Is the Name of Flowey's Second Form, Photoshop Flowey, Although You Probably Already Knew That. Also, " F" Comes from "Flowey" )

...Some Reason...
...Idk Why I Like to Turn Random Characters Into Spamton
Kirby Spamton

Rickton A. Rickton ("A" Comes from Astley, of Course)

Sans Scampton (or Jevil, I Guess, but This Was Made to be Scampton)

N. Tenna (Based on the Multiple Designs That People Have Made for Tenna)

and Finally, Photoflower F. Photoflower ("Photo" Comes from "Photoshop", Which Is the Name of Flowey's Second Form, Photoshop Flowey, Although You Probably Already Knew That. Also, " F" Comes from "Flowey" )

that Kirby Spamton looks hilariously creepy.... like he's coming for your soul
 1
1On 2023-12-06 at 00:48:21
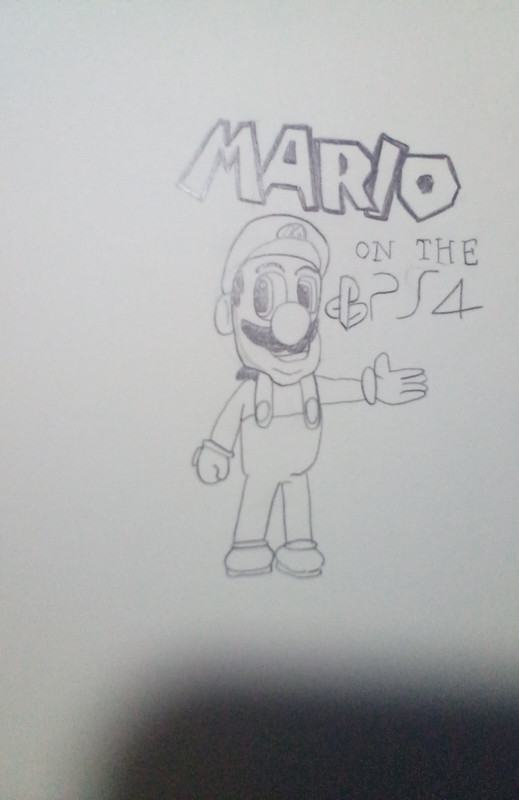
Draw Super Mario on the PS4
 1
1On 2023-12-06 at 02:37:25
Draw Super Mario on the PS4
On 2023-12-06 at 03:12:10

lil sonic


i drew this human one in class when i was bored, off of one of my favorite artists
people say i am underappreciated also i animate too but thats still a wip
 5
5On 2023-12-08 at 16:00:25
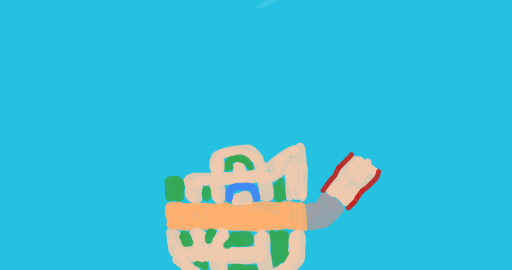
I'm Starting to Draw 3DS Wuhu Loop. It will take a While due to the Size of the Course.
On 2023-12-09 at 07:55:12
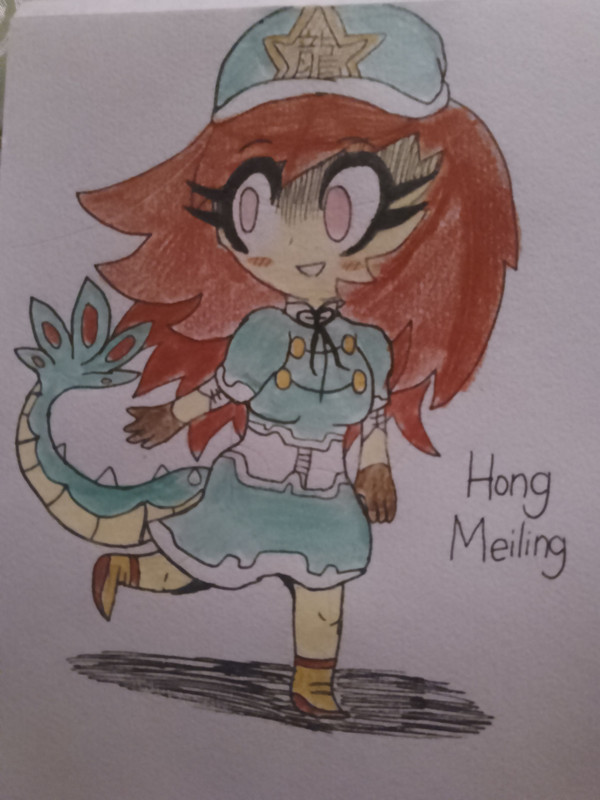
Starting to draw Touhou characters again, here's Hong Meiling(紅美齡 - The Beautiful Scarlet Dragon)
EDIT CUATRO: The Mandarin on her hat says dragon (龍 - lóng)
(Also I might hold a drawing competition soon and/or restart commissions... )
)
EDIT (yes I made up my mind in 40 minutes lol): Restarting commissions, think I'll draw people in a kind of cyberpunk-y style :3
EDIT DOS: Here's how I draw my characters for those that don't know:
EDIT CUATRO: The Mandarin on her hat says dragon (龍 - lóng)

(Also I might hold a drawing competition soon and/or restart commissions...
 )
)EDIT (yes I made up my mind in 40 minutes lol): Restarting commissions, think I'll draw people in a kind of cyberpunk-y style :3
EDIT DOS: Here's how I draw my characters for those that don't know:
1) Choose any good pens and pencils
This is practically vital for artwork. I use just two thicknesses of pencil (HB for construction shapes and B for sketching) as I only use them for building the 'construction shapes' of a character (basically plotting where everything goes - more on that later) and for pens I use 4 thicknesses (.05, .1, .5 and brush:
- .05 is used for the tiniest of details like shading, tinting and hatching
- .1 is used for slightly larger details that don't involve shading or tinting in any way (e.g petals, leaves and irises)
- .5 is used for general drawing
- Brush is used for applying heavy amounts of black onto a drawing - this is usually the thickest pen you get in a pack and looks a bit like a fine paintbrush)
2) Start with the head and work the way down to the feet
I use a HB pencil to draw construction shapes in, starting with the head. The head can be any oval shape, complete with two bezier (curved) lines (one horizontally and one vertically across the diameter of the oval) to plot where the eyes, nose and mouth will go. After that I draw in the neck as another longer but shorter oval, the torso as two squashed curved trapezoids and the arms and legs as a variety of ovals. As for feet, these are usually stretched curved trapezoids and the hands are usually circles.
3) Sketch over the proportions in another pencil thickness, mapping roughly where everything goes
For this, I draw everything in exactly where it goes, aside from shading. I also consider the layering of many parts of the character.
4) Draw over the sketch in pen
This is the point where art becomes either great or shit, so I'm very careful at drawing here.
5) Erase the pencil lines
It makes the drawing look finished, self-explanatory really.
6) Add in details
These can be petals on a flower, leaves on a tree, fingernails etc. (Though I don't tend to follow this step unless I'm drawing something realistic)
7) Add shading and texture
Again an optional stage, I don't tend to follow this step unless I'm doing anything at a manga-style level or above.
Then I add color and I'm done! :3 (most drawings take me anywhere between 15 minutes and an hour but I always follow this algorithm)
EDIT TRES: However the most important thing for drawing is obviously confidence, you don't even need skill
On 2023-12-09 at 17:23:03
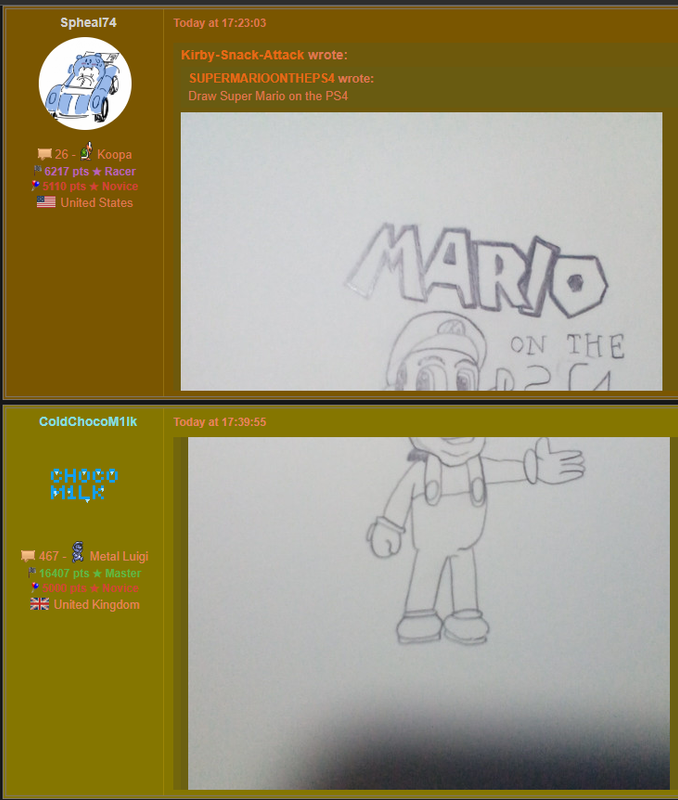
Draw Super Mario on the PS4

What About you Draw Super Mario on the PS5?
On 2023-12-09 at 17:39:55
Draw Super Mario on the PS4

What About you Draw Super Mario on the PS5?
nah Super Luigi on the XBOX One next

On 2023-12-09 at 17:53:30
 4
4On 2023-12-09 at 18:37:55
So Like
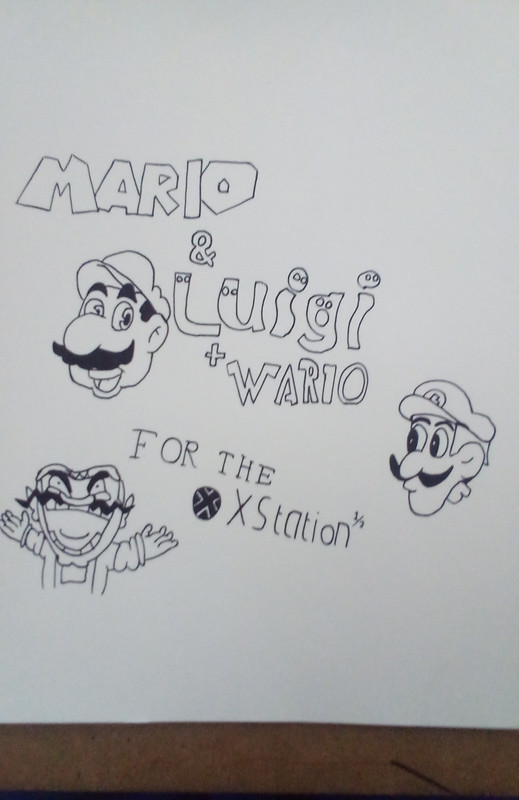
That Happened

That Happened
 2
2On 2023-12-09 at 18:40:25
So Like

That Happened

That Happened
Hello! It's a me! Super Mario for the PS4! WAHOO!
Hello! It's a me! Super Luigi for the XBOX One! YAHOO!
Yes, it is I. Wario Land for the PC. OH MY GOD
 3
3 2
2On 2023-12-09 at 19:01:57
So Like

That Happened

That Happened
Hello! It's a me! Super Mario for the PS4! WAHOO!
Hello! It's a me! Super Luigi for the XBOX One! YAHOO!
Yes, it is I. Wario Land for the PC. OH MY GOD
Memories...


 174 -
174 - 
 16414 pts ★ Master
 5473 pts ★ Novice


